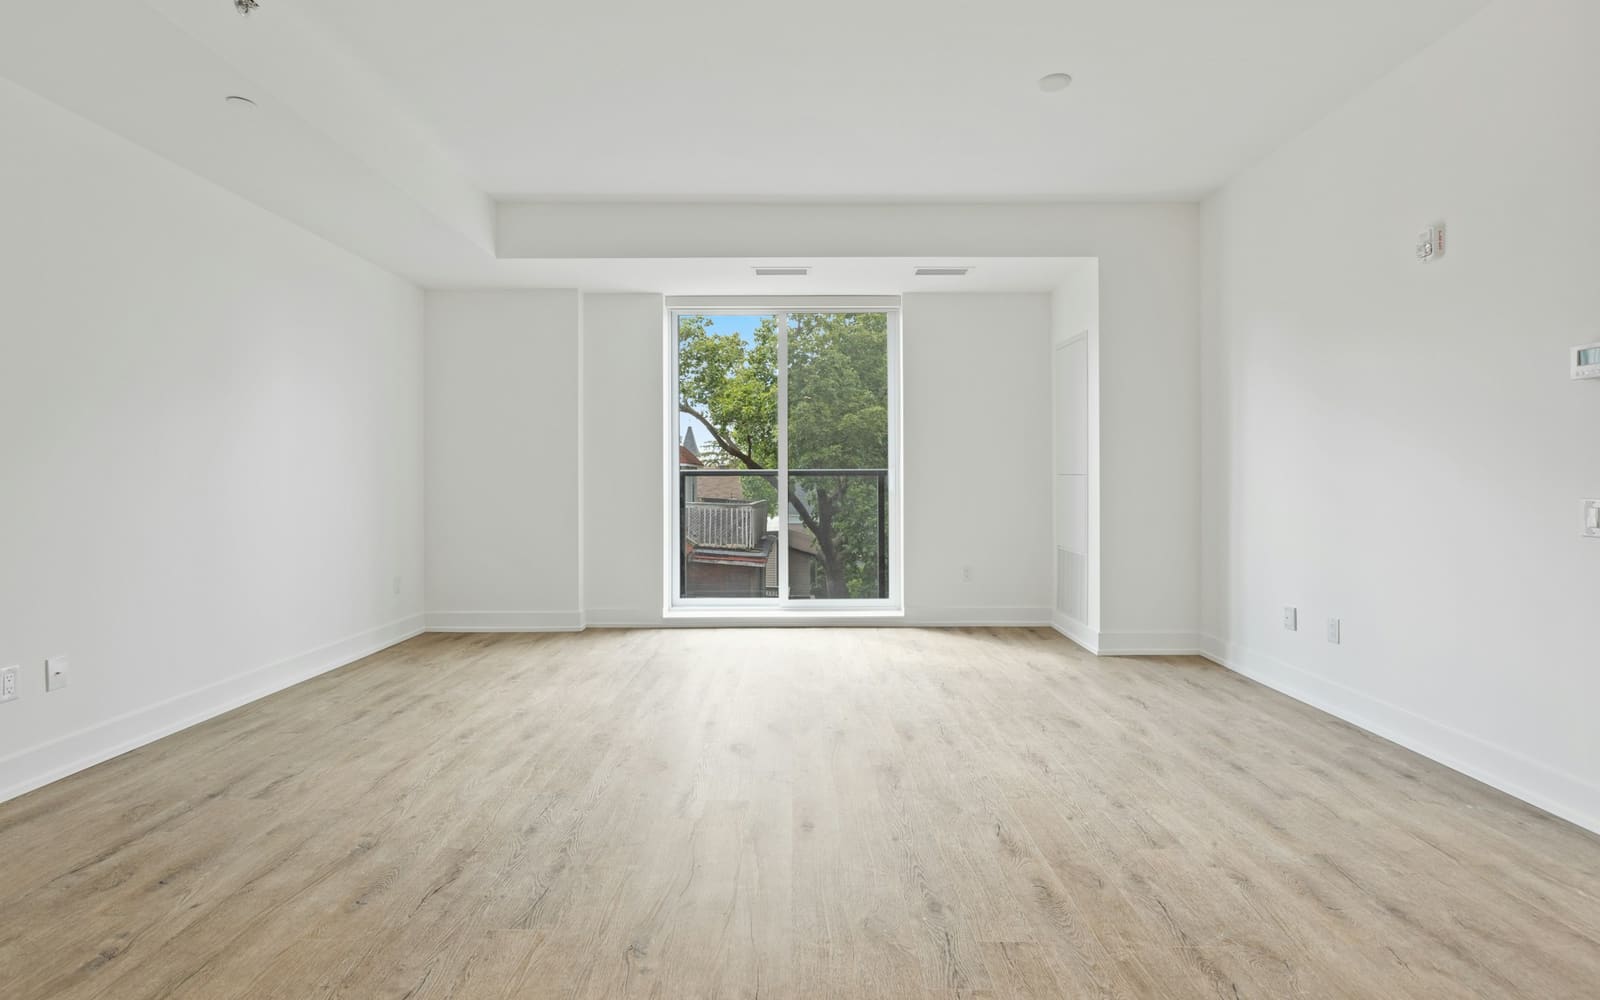
Converting the attic into a room
An attic is often the cheapest extra room in the house: the space is already there. To live in it, it has to be insulated, airtight, lit and heated, and safe to reach.
The order goes from the outside in: first the roof, then the insulation and the cables, then the walls, and the floor last of all. Count on four to eight weekends, depending on the size.
9 steps, 12 jobs
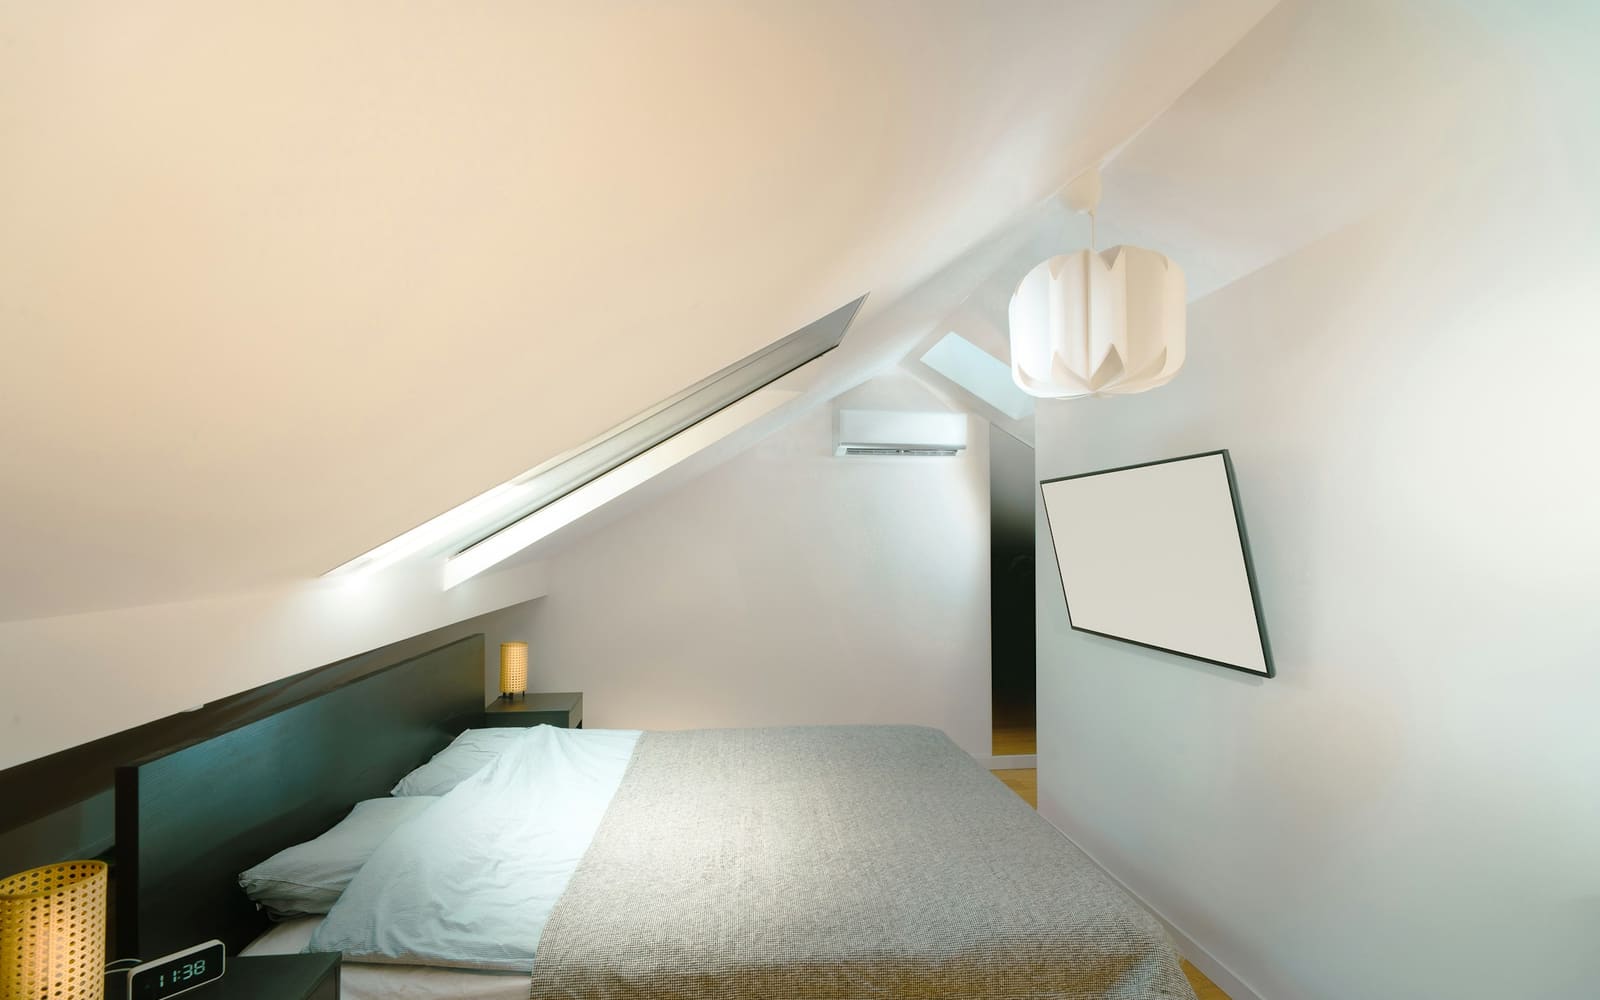
The order of the work
Go through the steps from top to bottom. Every job has its own questionnaire, step-by-step plan and shopping lists.
Step 1: Checking the structure, the stairs and the permit
An attic floor is not always designed for a room with furniture: if in doubt have the joists checked by a structural engineer. Check whether there is or can be a fixed staircase and whether you have enough headroom everywhere. Ask your municipality whether you need a permit or a notification, certainly if you change the roof surface or the attic becomes a separate dwelling.
Step 2: Fitting a roof window
Daylight and ventilation come first, because you have to open the roof for them. Afterwards you connect the insulation and the vapour barrier to the window, not the other way round.
Step 3: Insulating the roof
Insulate the roof between and under the rafters and finish with a vapour barrier that connects airtight everywhere. This happens before the walls and the electrics, so that the insulation and the vapour barrier run on behind everything that is still to come.
Step 4: Electrics: the first fix
Run the circuits for sockets and lighting on the warm side of the vapour barrier, in a service void, so that you do not pierce the barrier. Decide now where the bed, desk and lamps will go.
Step 5: Walls and ceiling
Build the knee walls, any partition walls and the ceiling with profiles and plasterboard. That is how you finish the sloping sides and divide up the space. The cables are already behind them by then.
Step 6: Finishing the plasterboard
Joint and fill all the seams and screw holes and sand them smooth. This makes a lot of dust and therefore comes before painting and long before the floor.
Step 7: Finishing the electrics and fitting the heating
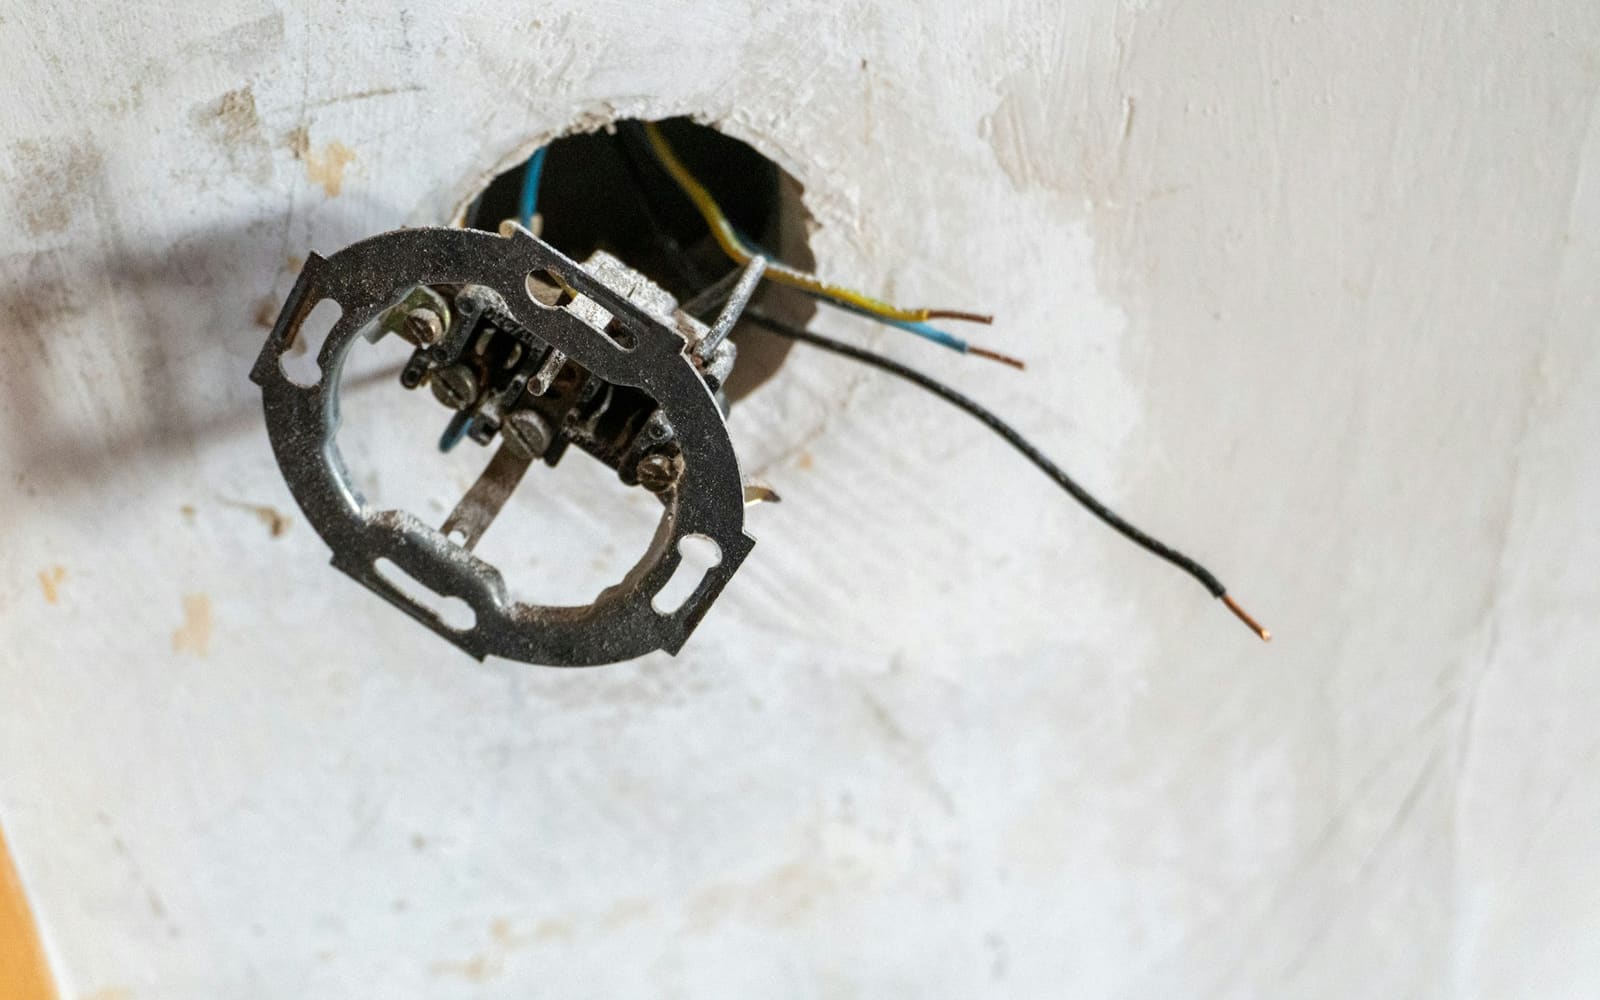
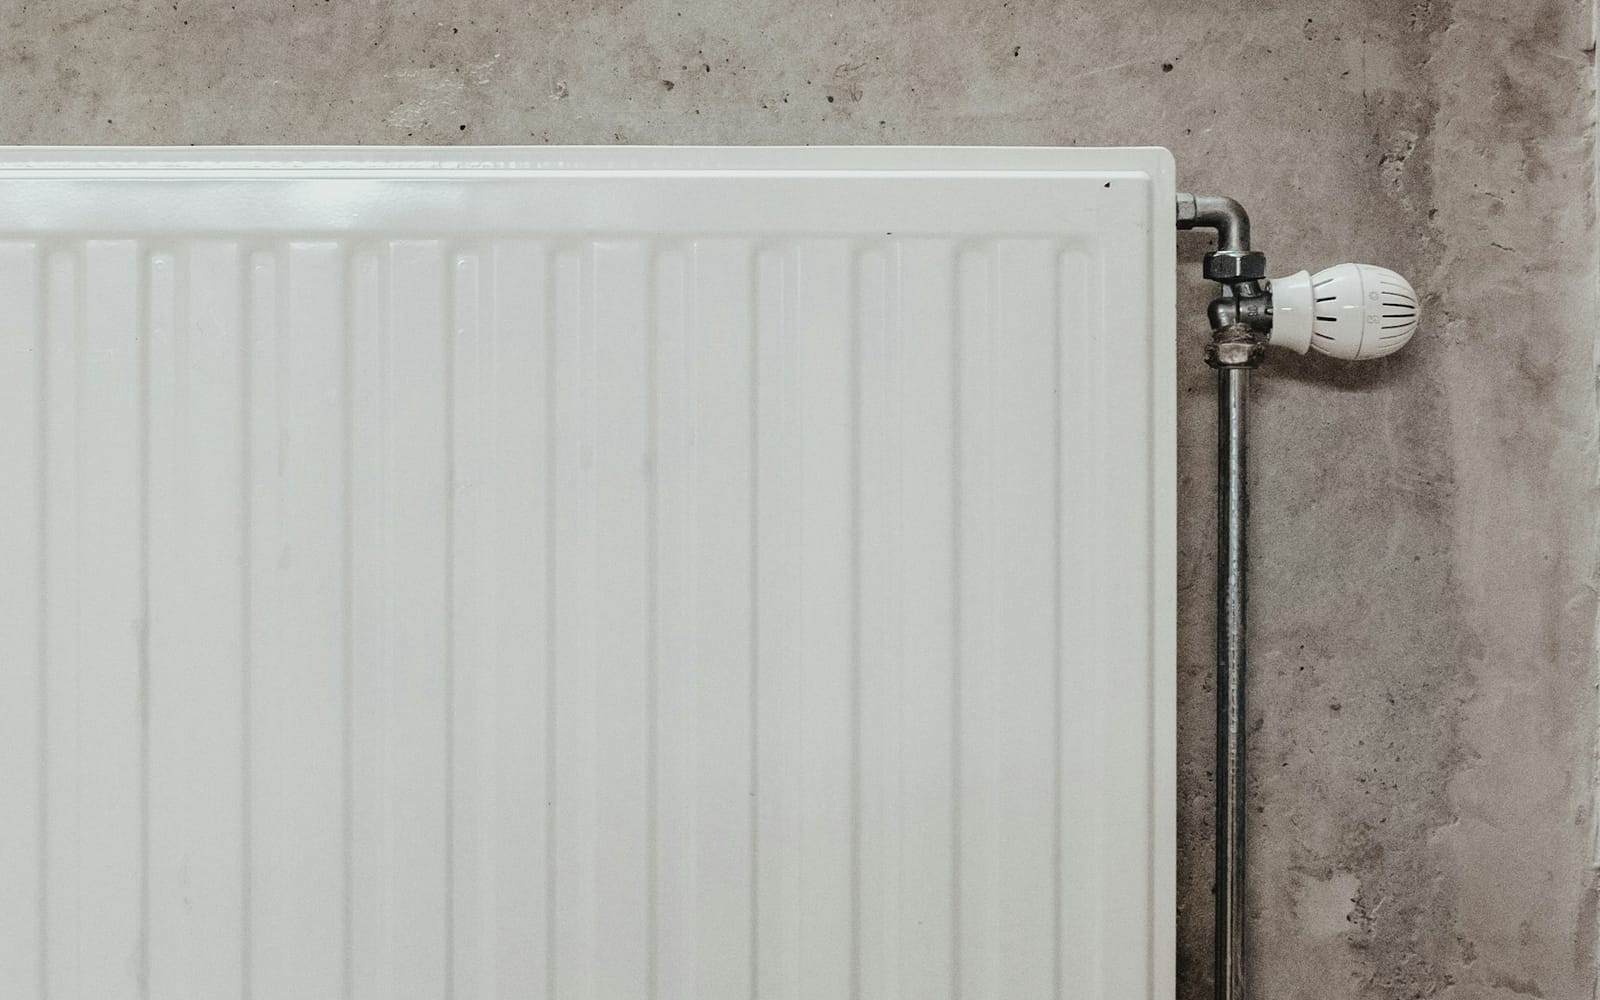
Fit the sockets, switches and lamps and hang the radiator. The walls are now closed and finished, so everything goes in its final place.
Step 8: Painting
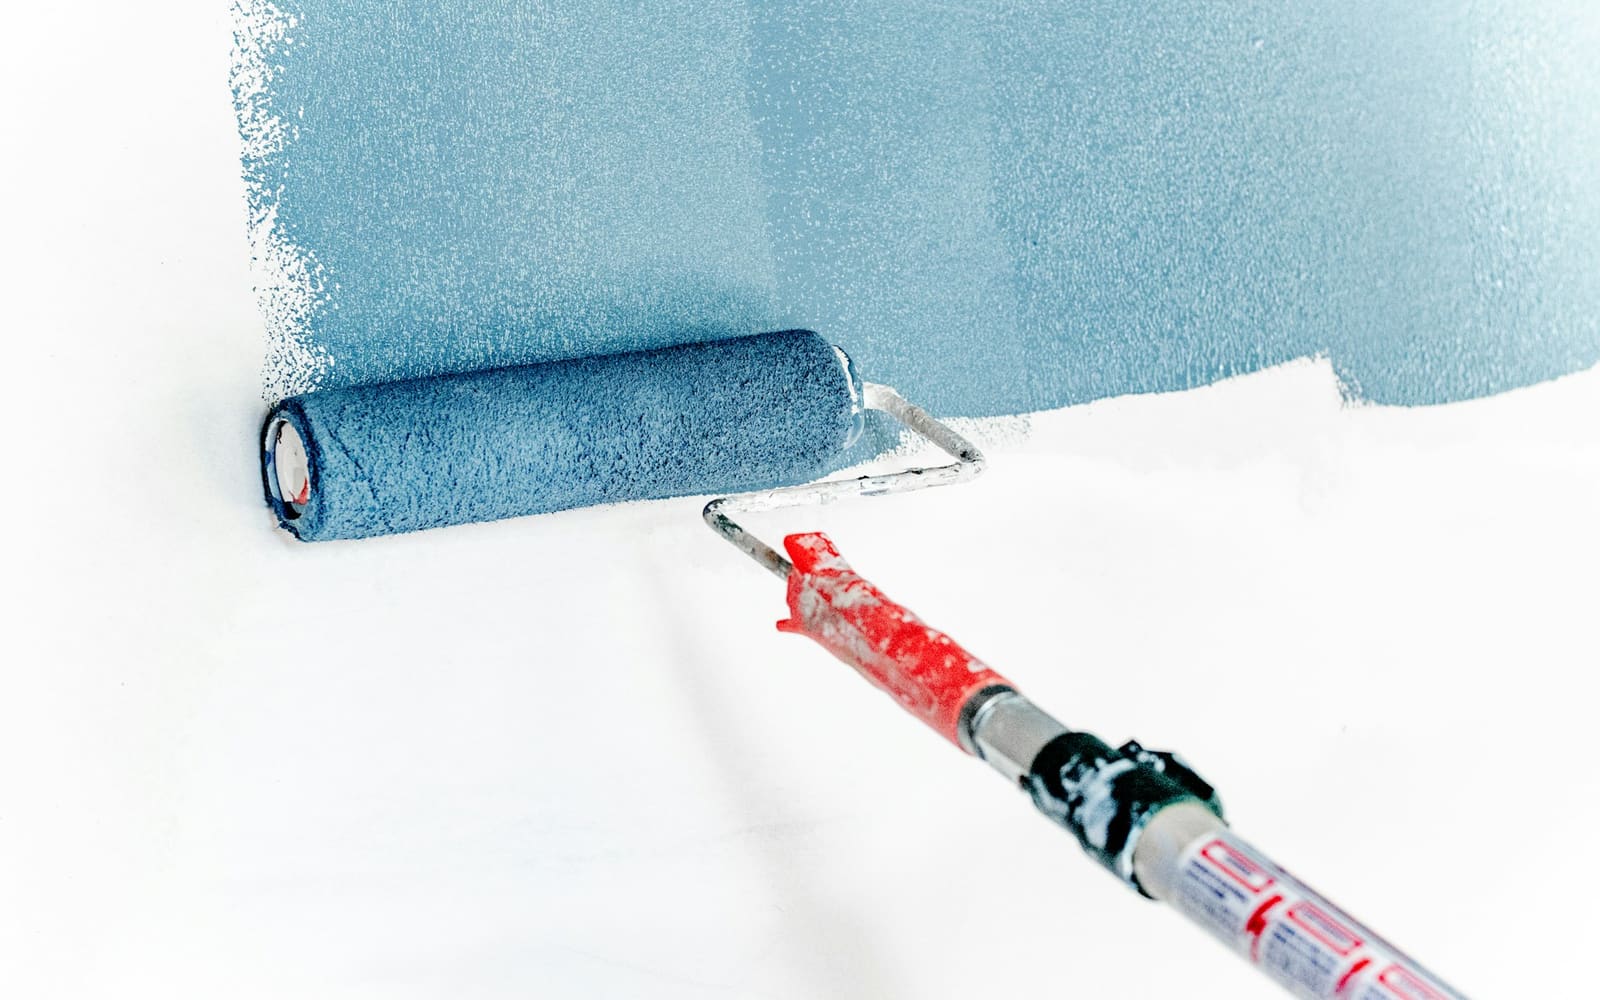
Prime the new plasterboard and paint the ceiling and walls. Painting comes before the floor, so that splashes do no harm.
Step 9: Laying the floor
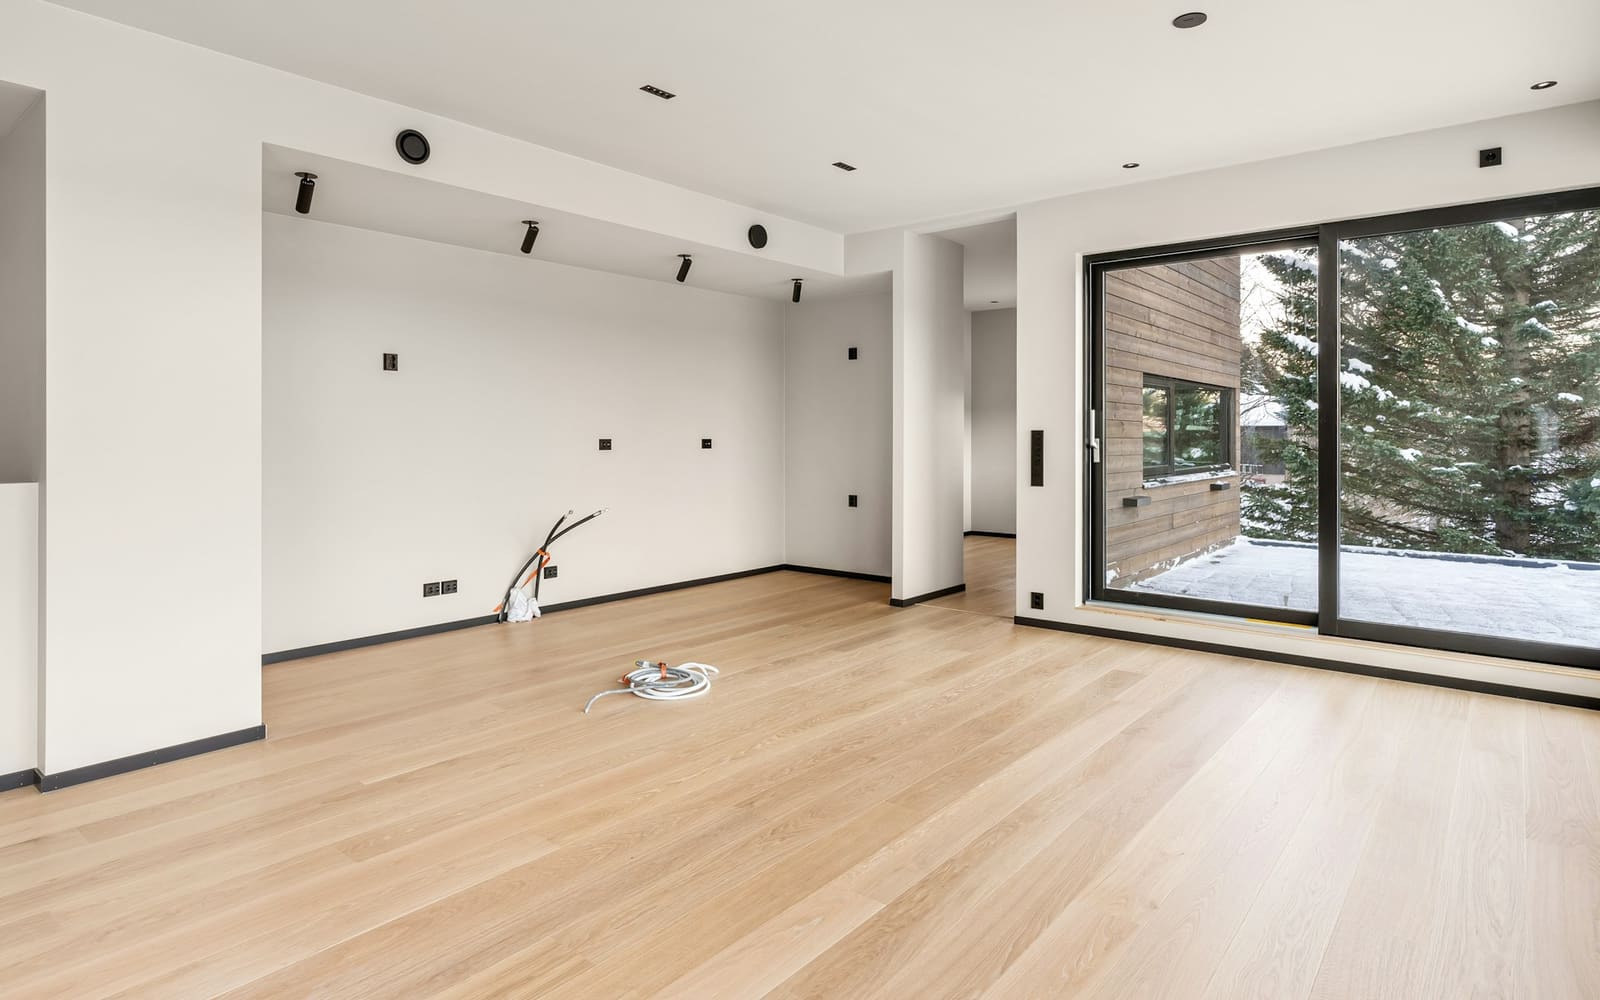
Lay the floor last: laminate, parquet or vinyl. On a timber attic floor you choose an underlay that dampens impact noise to the rooms below.
Other projects
Renovating a complete bathroom
From demolition to inspection: all the jobs of a bathroom renovation in the order you carry them out.10 steps, 21 jobsView the project
New floor build-up on the ground floor
Replacing an old floor with an insulated build-up of concrete, pipes, underfloor heating, screed and a new finish.8 steps, 12 jobsView the project