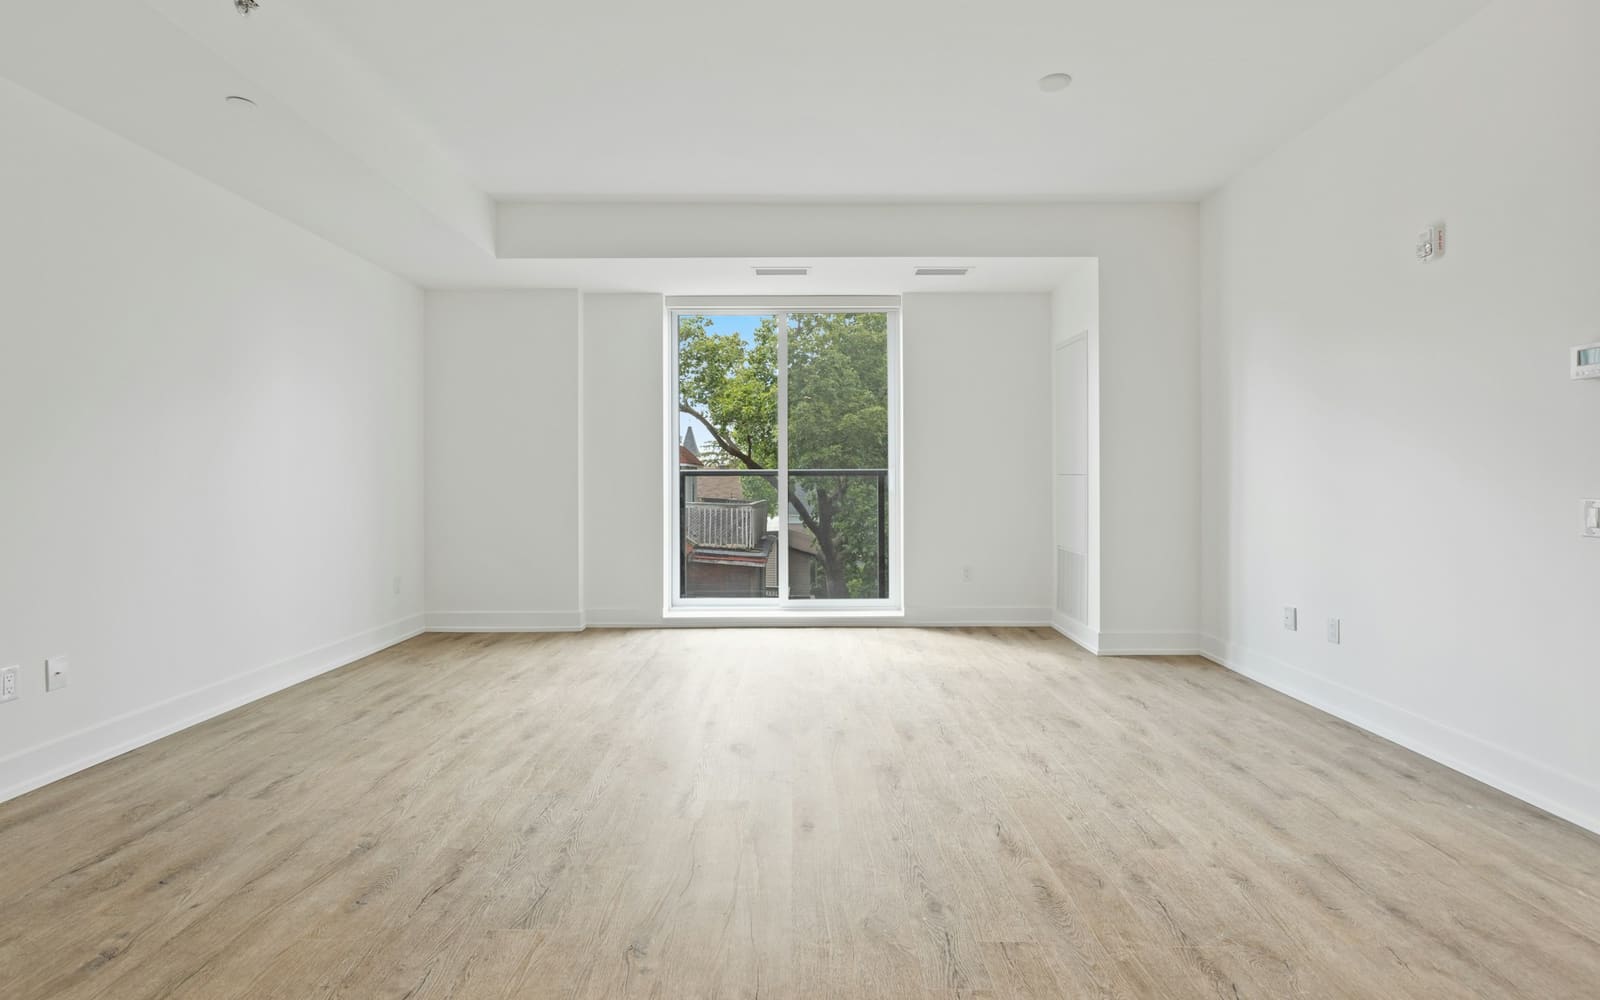
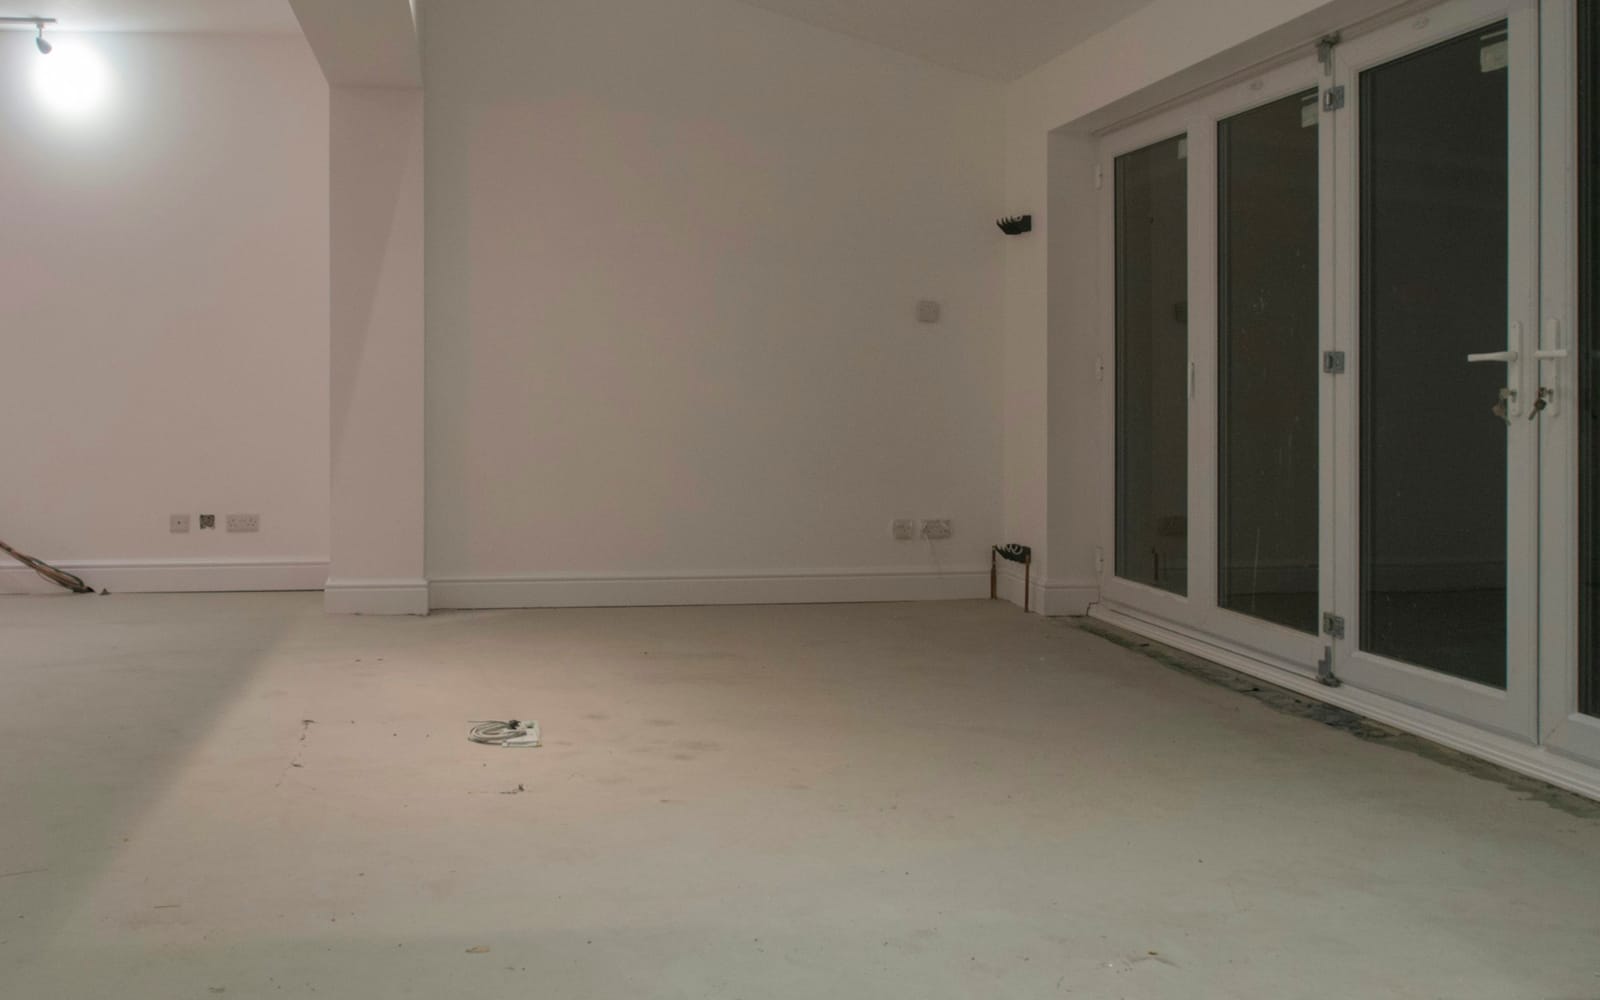
New floor build-up on the ground floor
In older houses the ground floor often lies directly on the soil, without insulation. If you replace that floor you gain comfort and can lay underfloor heating at the same time. It is heavy work with a lot of waiting, but each layer on its own is quite doable.
The layers come from the bottom up. First measure how much height you have between the ground and the underside of the doors: the concrete, insulation, screed and finish have to fit in there. Count on two to three months from breaking out to the finished floor, most of which is drying time.
8 steps, 12 jobs
The order of the work
Go through the steps from top to bottom. Every job has its own questionnaire, step-by-step plan and shopping lists.
Step 1: Breaking out and excavating
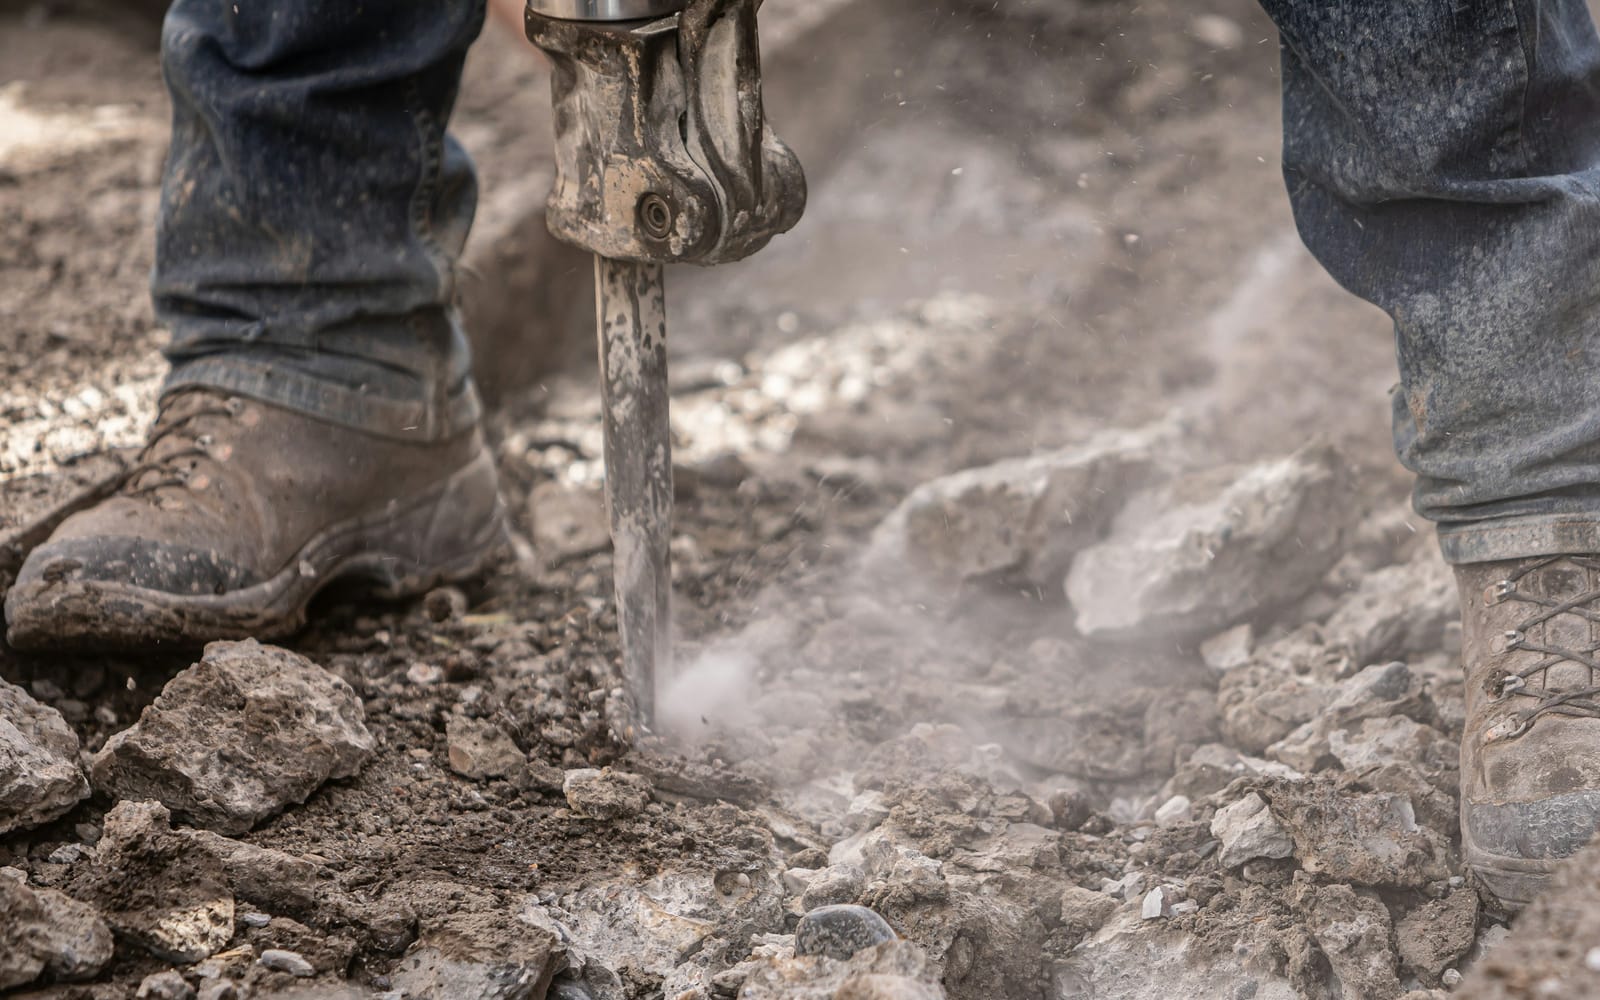
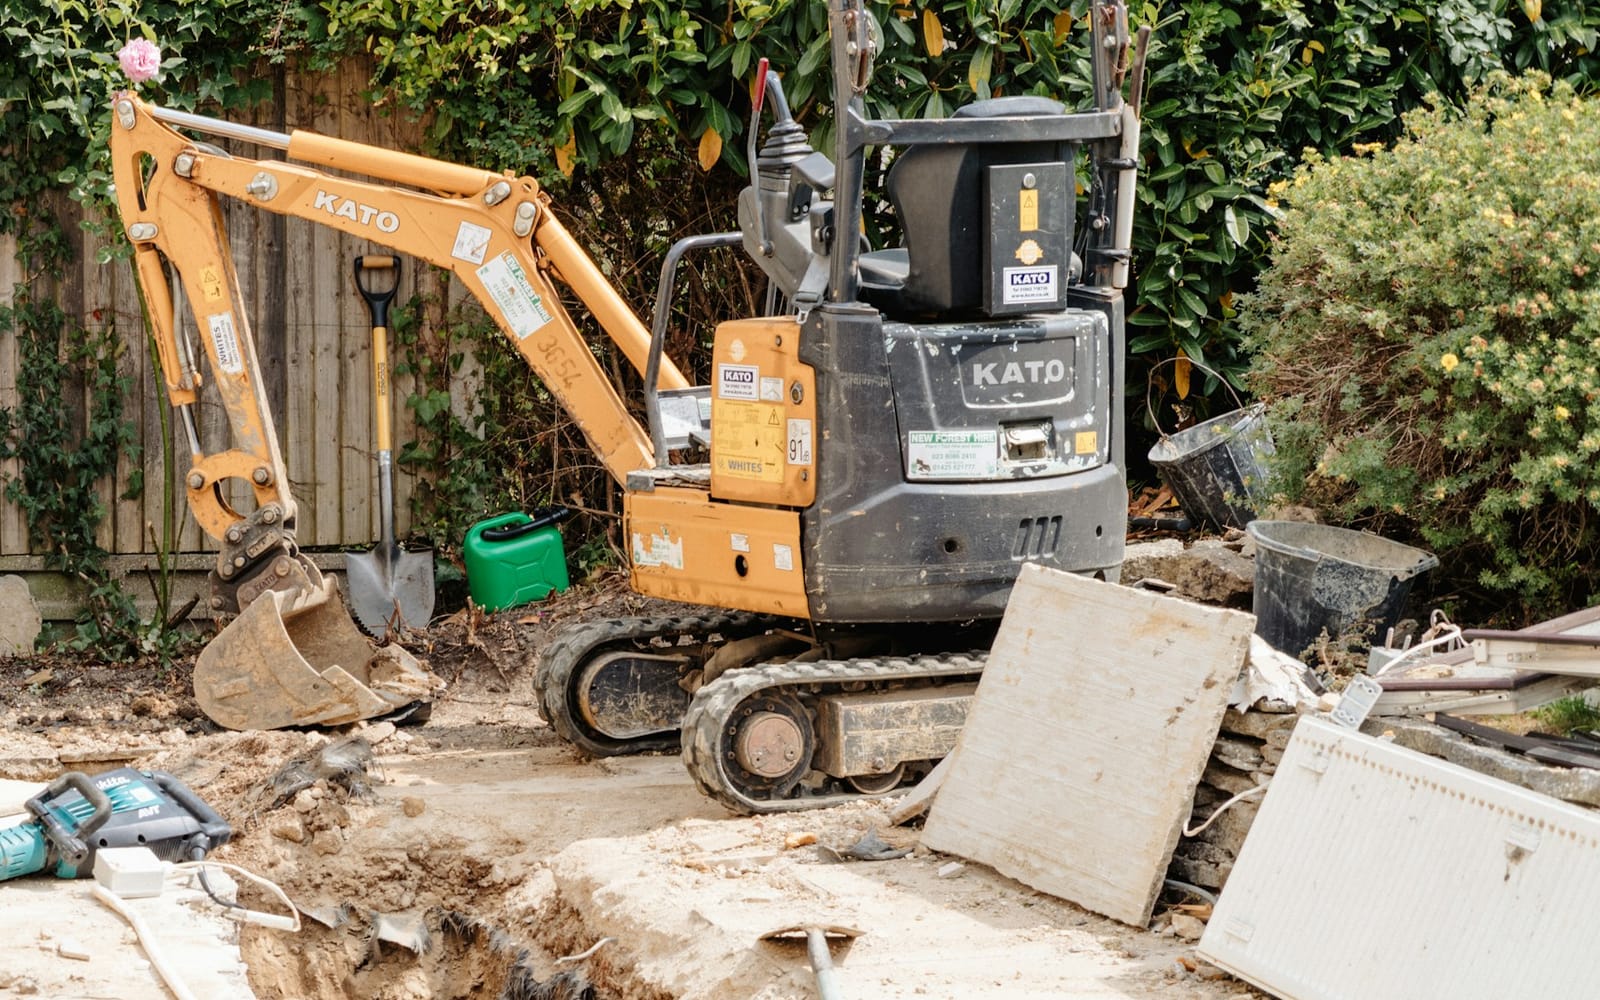
Break out the old floor and excavate to the depth the new build-up needs. Never dig deeper than the underside of the foundations without advice from a structural engineer. Arrange skips for rubble and soil: they are taken away separately.
Step 2: Pouring the concrete slab
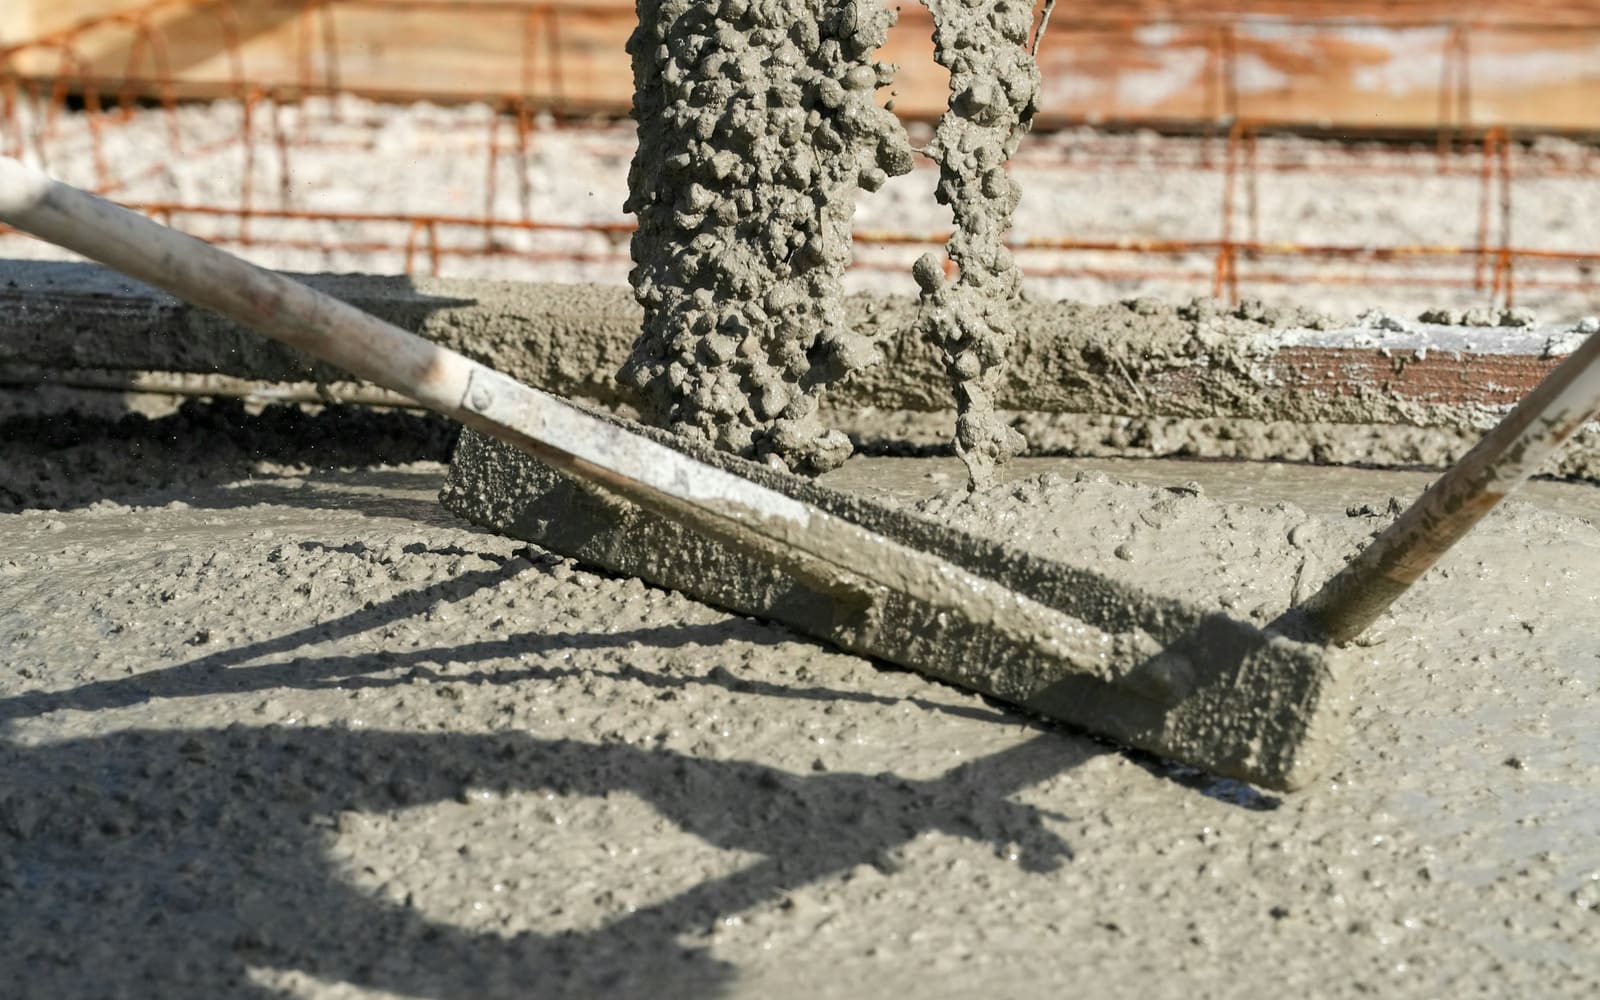
Pour a reinforced concrete slab on a membrane. This is the structural floor that everything rests on, so it comes first. Concrete has to cure before you carry on working on it: after a few days you can walk on it, full strength comes after about four weeks.
Step 3: Pipes in the floor
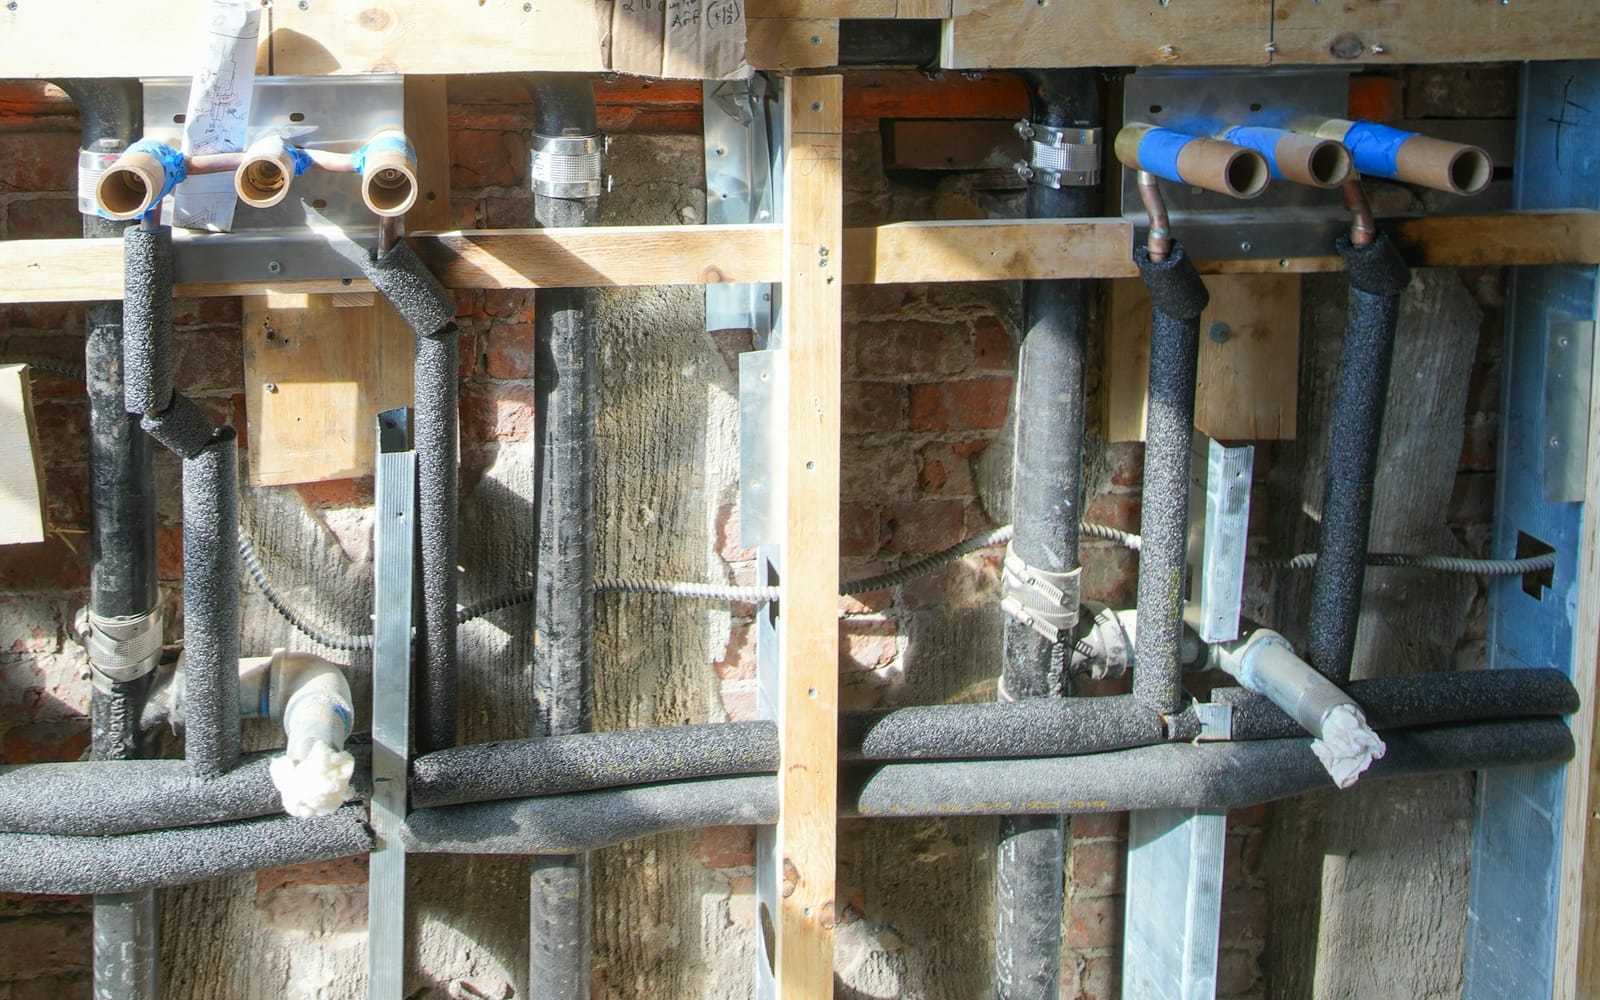
Lay the drains and water pipes that run through the floor on top of the concrete slab. They end up under the insulation, so this is the last moment to lay and test them.
Step 4: Insulating the floor
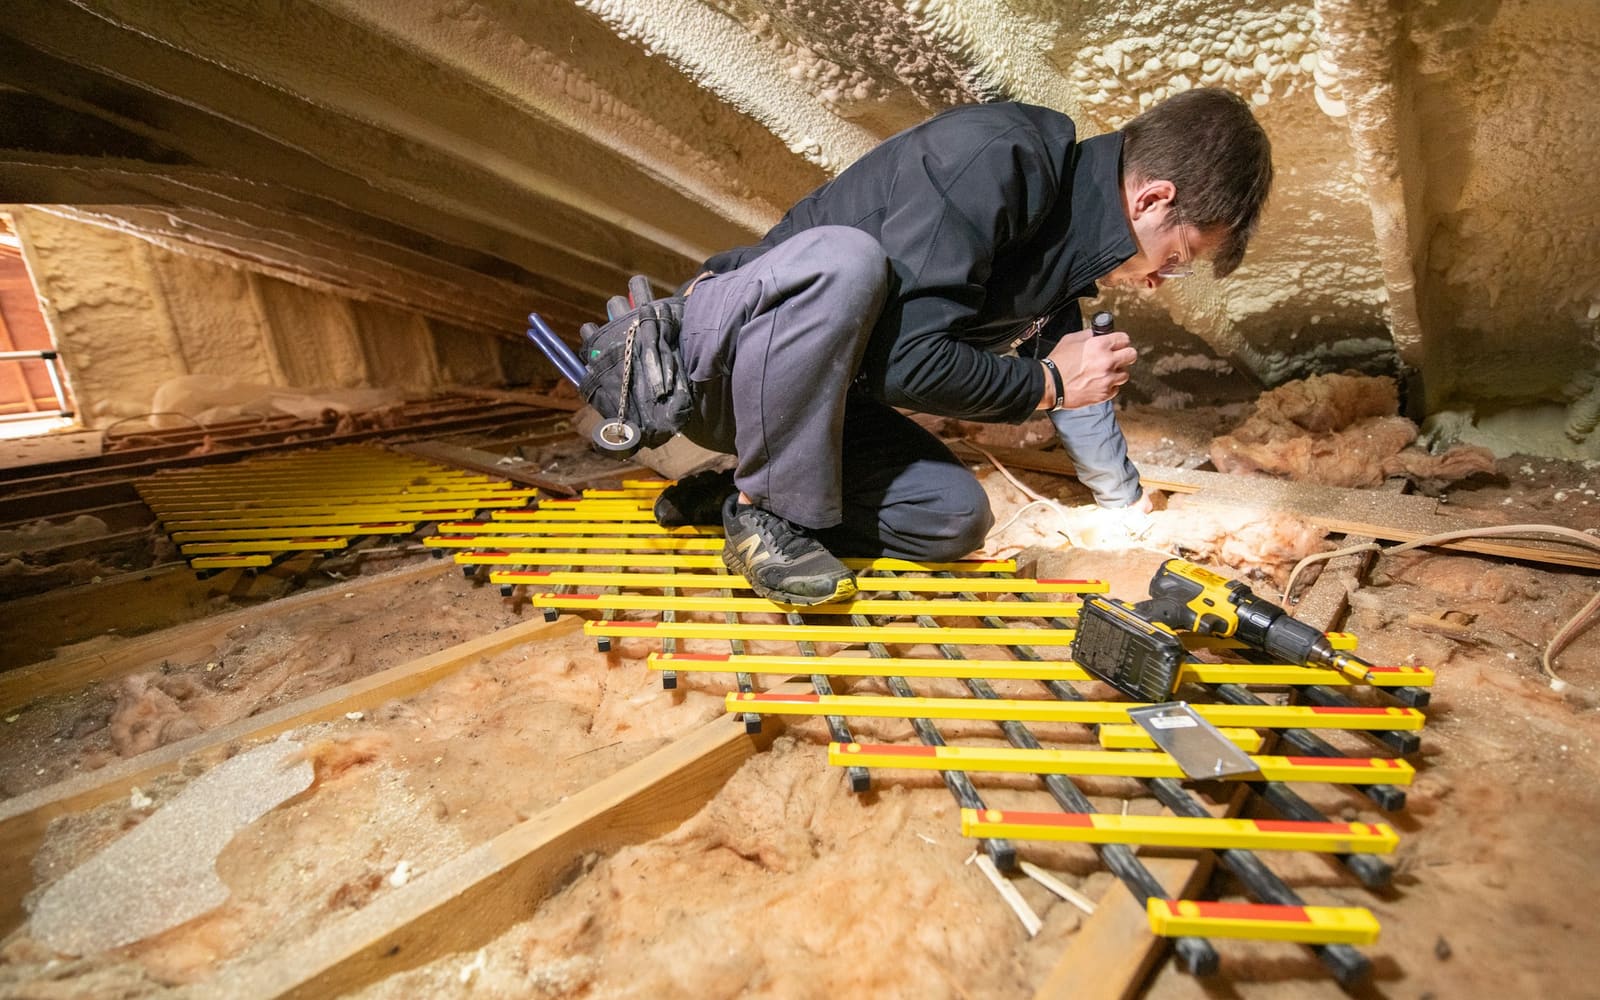
Put in the floor insulation: boards or sprayed insulation, right up to the walls, with an edge strip along them. The insulation lies under the underfloor heating, so the heat goes up and not into the ground.
Step 5: Laying underfloor heating
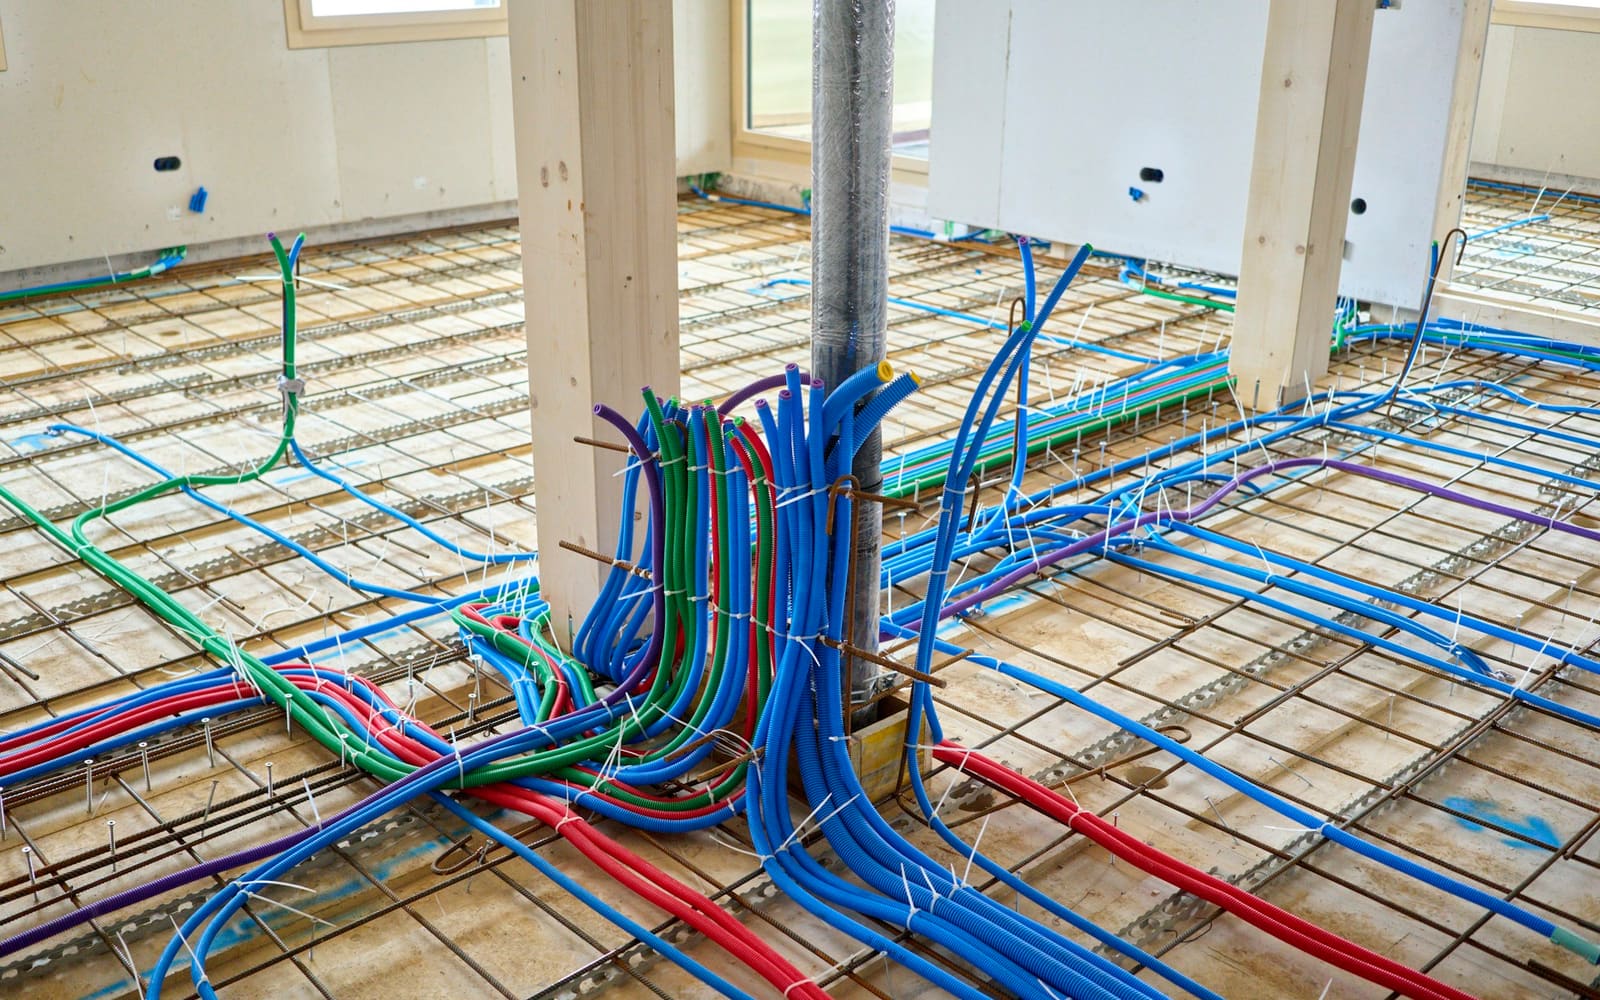
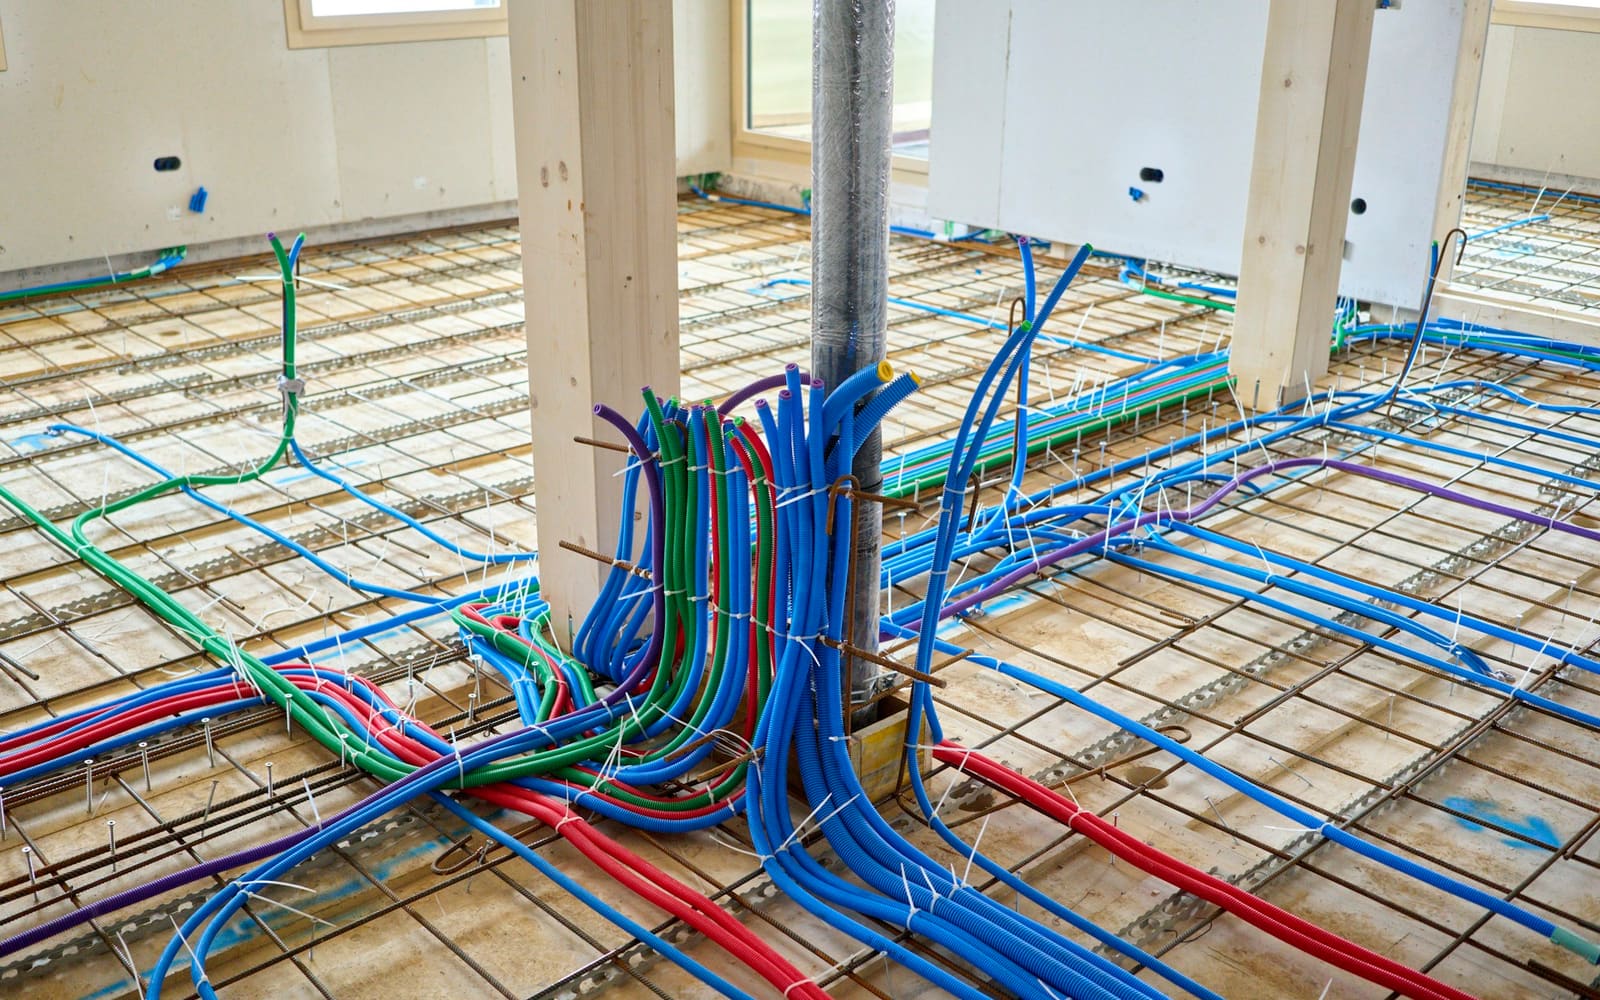
Lay the underfloor heating pipes on the insulation and put them under pressure before the screed goes over them. That way you see a leak before it is too late, and the screed does not squash the pipes.
Step 6: Laying the screed
Lay the screed over the pipes. It spreads the heat and gives a flat base for the finish. A screed on underfloor heating is heavy and precise work: many people have a screeder do this.
Step 7: Drying and heating up
Let the screed dry: count on about a week per centimetre up to 4 cm thick, and two weeks for every centimetre above that. With underfloor heating the heating-up protocol follows, in which you warm the floor up step by step and let it cool down again. Only lay a floor finish once the moisture content has been measured and is right.
Step 8: Laying the floor finish
Lay the finish of your choice: tiles, parquet, laminate or vinyl. On underfloor heating you choose a finish and an underlay that let the heat through well.
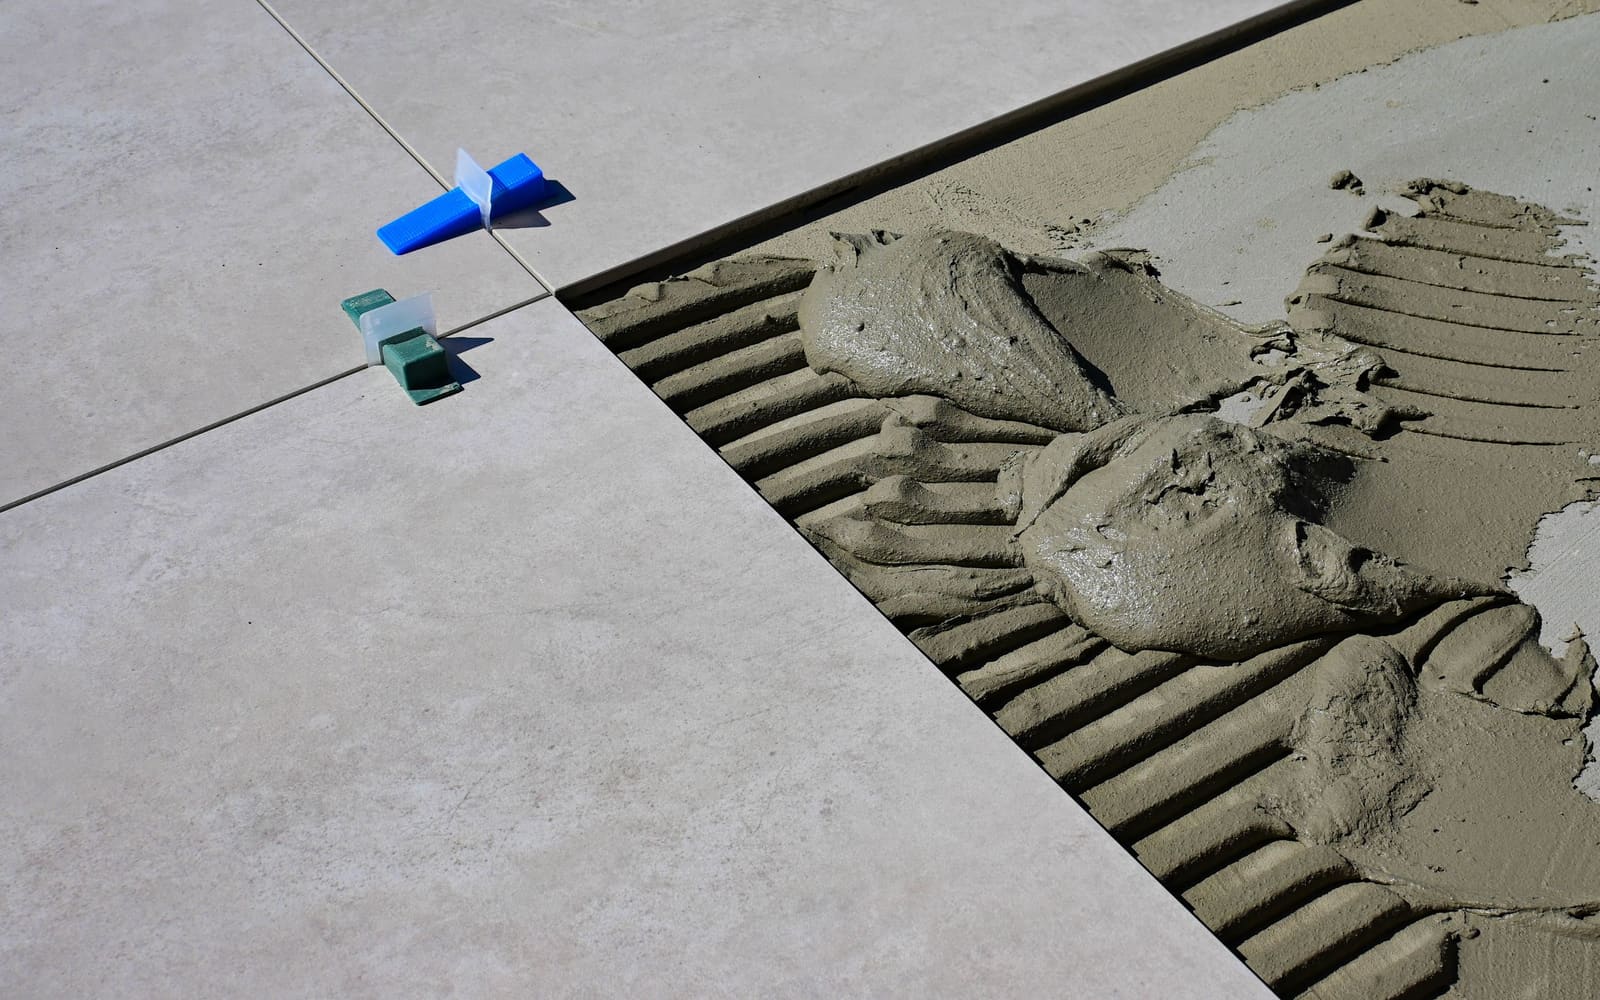 Tiling a floor (living space)3D configuratorDemanding3 to 5 days, plus drying time
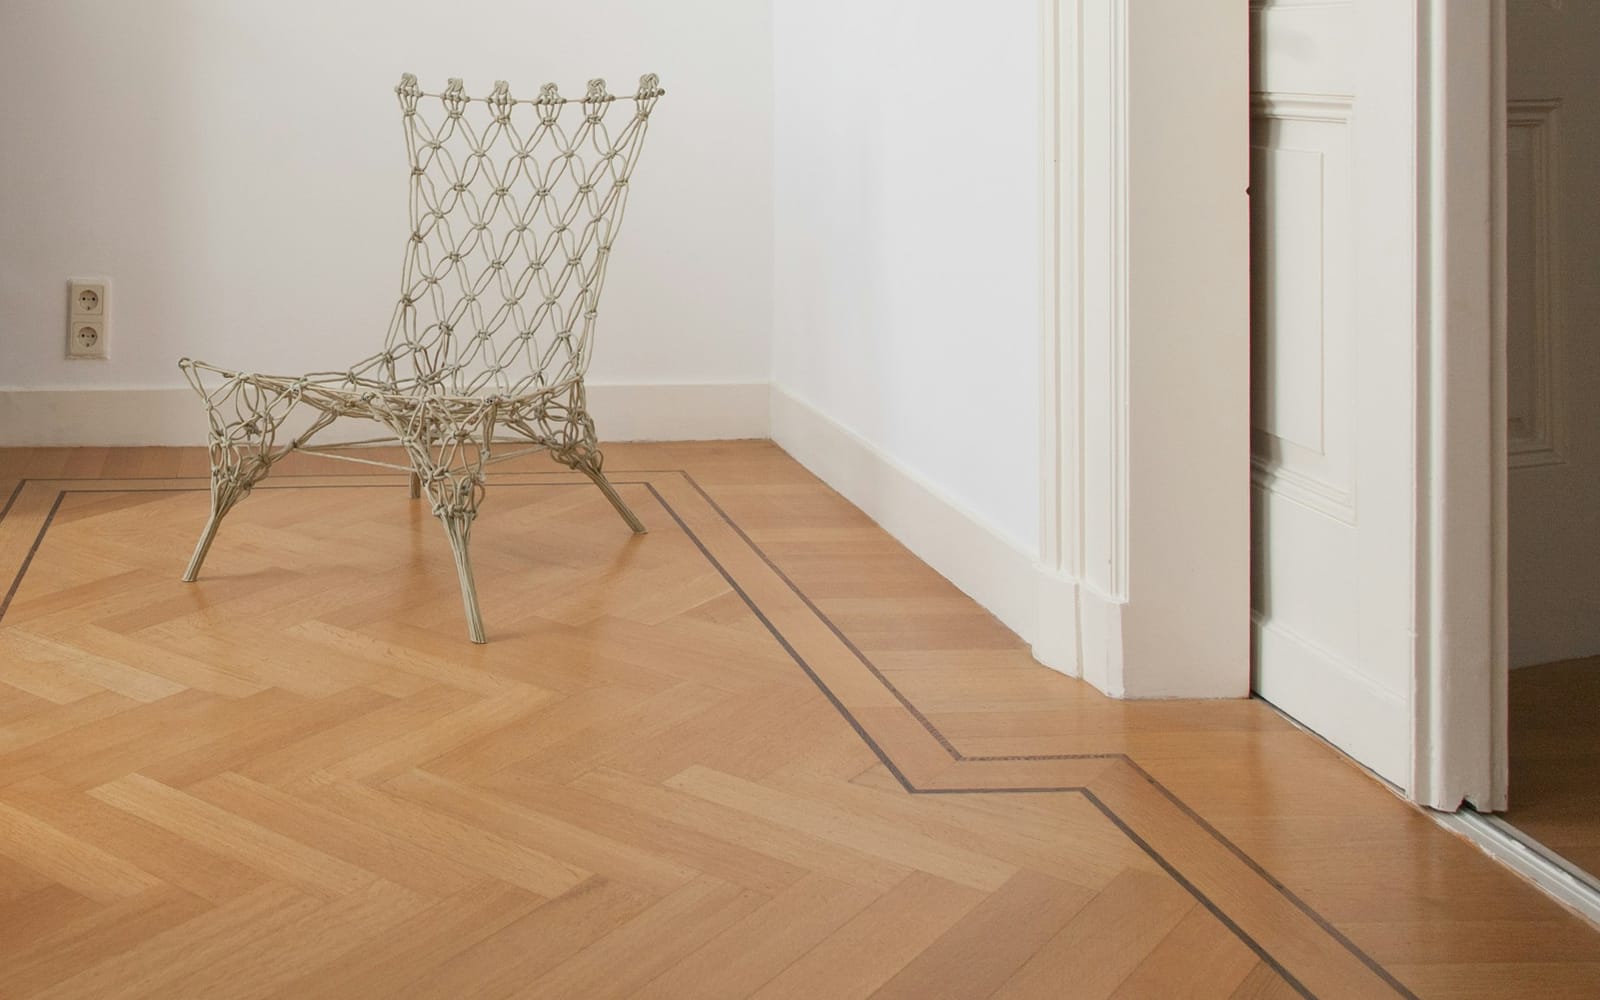 Laying parquet flooring3D configuratorModerate2 to 3 days, after 48 hours of acclimatising
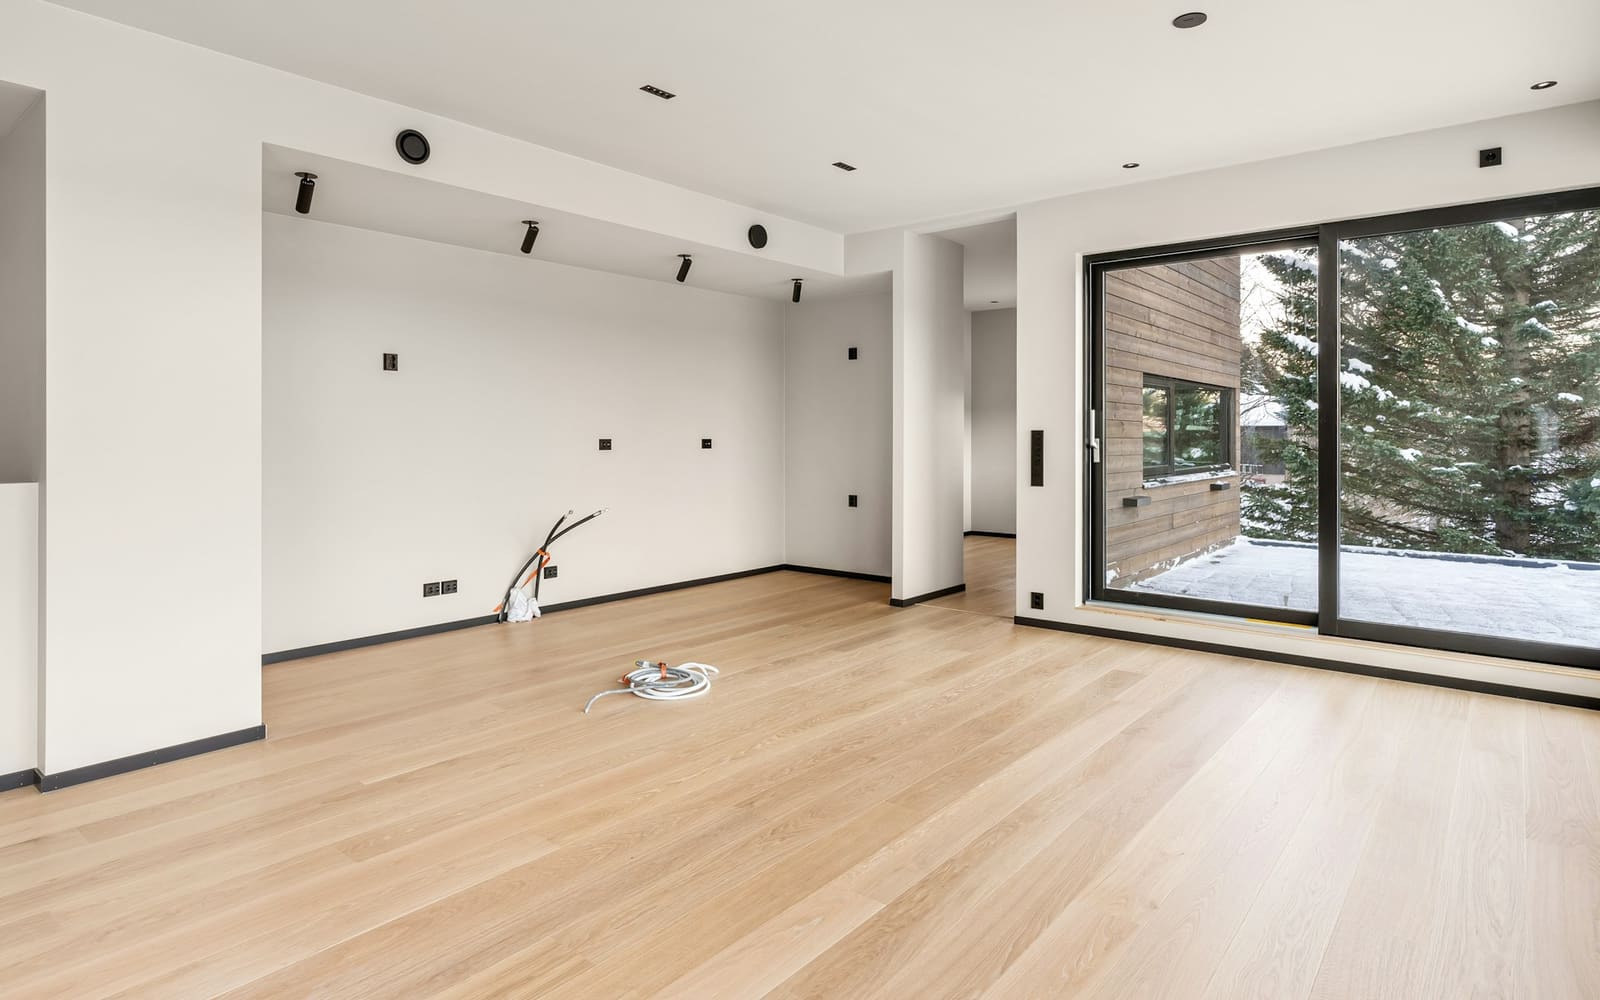 Laying laminate flooring3D configuratorEasy1 to 2 days, after 48 hours of acclimatising
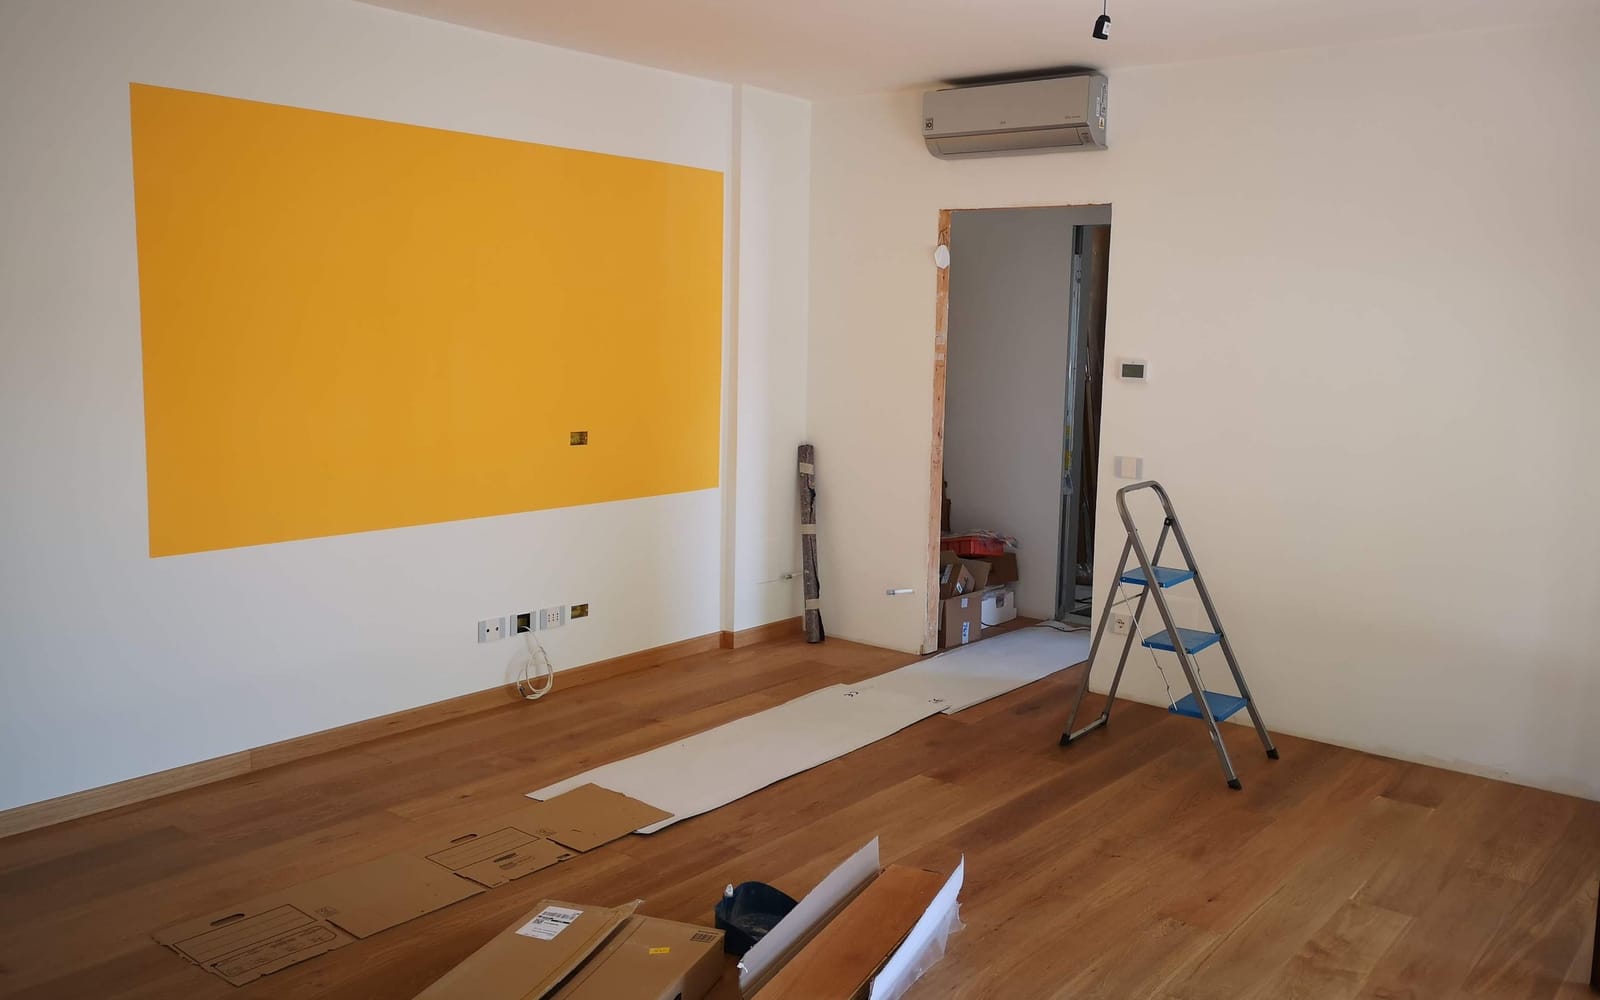 Laying vinyl flooring3D configuratorModerate1 to 3 days, after 48 hours of acclimatising

Other projects

Renovating a complete bathroom
From demolition to inspection: all the jobs of a bathroom renovation in the order you carry them out.10 steps, 21 jobsView the project
Converting the attic into a room
From bare attic to bedroom or office: roof window, insulation, electrics, walls and finishes in the right order.9 steps, 12 jobsView the project